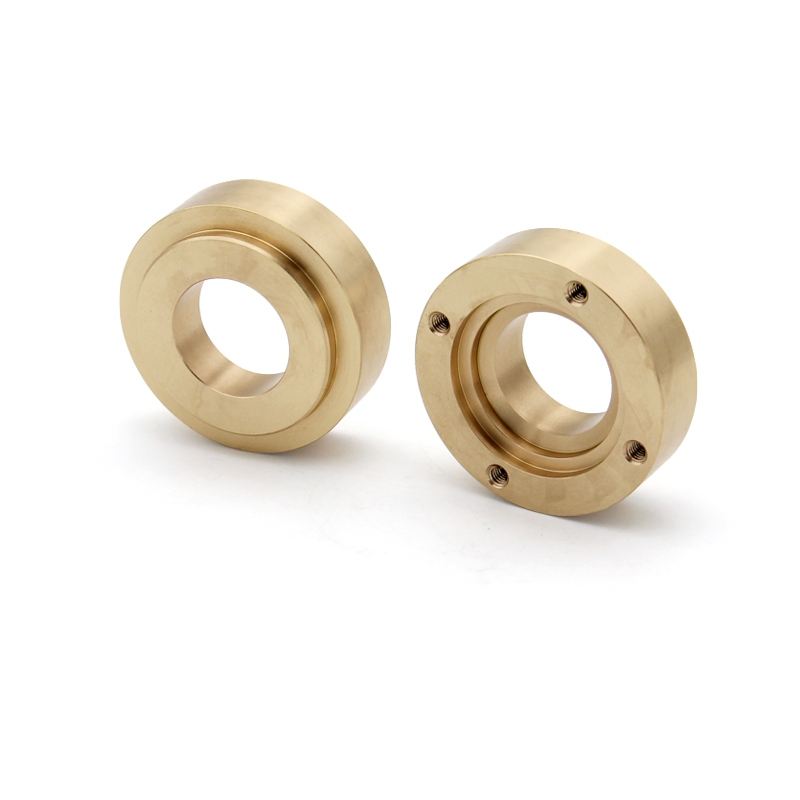
What is CNC Precision Turning?
CNC (Computer Numerical Control) Precision Turning is a subtractive manufacturing process that uses computer-controlled lathes to remove Material from a rotating workpiece with extreme accuracy. This process achieves tolerances as tight as ±0.005 mm for diameter dimensions and surface finishes as smooth as Ra 0.4 μm. Modern CNC Turning centers can achieve spindle speeds exceeding 10,000 RPM with positioning accuracy of ±0.001 mm, making them capable of producing complex geometries with exceptional repeatability.
Key characteristics of CNC Precision Turning:
Dimensional Accuracy: Maintains tolerances within IT5 to IT7 grades (ISO 286)
Surface Finish: Achieves Ra 0.4-3.2 μm depending on material and tooling
Production Rate: Cycle times as low as 15-30 seconds for simple components
Material Versatility: Processes metals (steel, aluminum, titanium), plastics (Delrin, PEEK), and composites
Tool Life: Carbide inserts typically last 15-45 minutes of cutting time before indexing

Applications of CNC Precision Turning
The precision and repeatability of CNC Turning make it indispensable across multiple Industries:
Aerospace Components
Manufactures turbine shafts with 0.01 mm concentricity requirements, landing gear components with HRC 40-50 hardness, and hydraulic fittings meeting AS9100 standards. Typical materials include titanium alloys (Ti-6Al-4V) and nickel-based superalloys (Inconel 718).
Medical Devices
Produces surgical instruments with Ra 0.8 μm surface finish, orthopedic implants with ±0.025 mm tolerance, and dental components from biocompatible materials like stainless steel 316L and cobalt-chrome alloys.
Automotive Systems
Creates fuel injection components with 0.5 μm surface finish requirements, transmission shafts with 0.02 mm runout tolerance, and brake system parts capable of withstanding 300°C operating temperatures.
Electronics Industry
Manufactures connector pins with ±0.005 mm diameter tolerance, waveguide components with 0.1 μm surface roughness, and semiconductor equipment parts meeting Class 100 cleanroom standards.
Oil & Gas Equipment
Produces valve components with API 6A compliance, downhole tools from 17-4PH stainless steel, and measurement while drilling (MWD) components with 0.01° angular accuracy.
Maintenance Procedures for CNC Turning Centers
Proper maintenance ensures optimal performance and extends machine tool life beyond 50,000 operating hours:
Daily Maintenance
Check hydraulic pressure (20-30 bar typical)
Verify coolant concentration (5-10% emulsion)
Clean way covers and chip conveyors
Inspect tool holders for runout (<0.003 mm)
Weekly Maintenance
Lubricate linear guides with ISO VG 68 oil
Check spindle vibration (<1.5 mm/s RMS)
Verify turret alignment (±0.005 mm repeatability)
Clean coolant filters and check pH (8.5-9.5)
Monthly Maintenance
Measure backlash in ball screws (<0.01 mm)
Check spindle taper wear with test bar (<0.002 mm TIR)
Verify machine geometry (squareness <0.01 mm/300 mm)
Replace air filters and check pneumatic pressure (6 bar)
Quarterly Maintenance
Change hydraulic fluid (ISO 32 grade)
Recalibrate linear scales (±0.001 mm accuracy)
Inspect electrical connections (<1 Ω resistance)
Test emergency stop functionality
Annual Maintenance
Replace spindle bearings after 15,000-20,000 hours
Reball screw assemblies showing >0.03 mm backlash
Recertify machine accuracy to ISO 230-2 standards
Update CNC software and backup parameters
Critical maintenance data points:
Spindle temperature should remain below 65°C during operation
Way lube consumption typically 1-2 ml/minute
Coolant flow rate should exceed 20 l/min for most operations
Servo motor current should not exceed 80% of rated capacity


 English

